Why to Create a Blog
- Establishing a personal brand
- Learning and growth: By reflecting on your work and sharing your knowledge with others, you can challenge yourself to continue learning and growing in your field.
- Contribution to the community
Choose a Theme
- Hugo theme website: https://themes.gohugo.io/themes/
- Notes
- Prior to selecting a theme, it’s essential to have a clear blueprint of your blog, including the essential components and key areas that should be included.
- It’s important to consider not only the aesthetics of a theme, such as its color and design, but also whether it will be applicable to your specific case. For instance, for a designing website, themes featuring photos are generally more popular than those with a “papermod” design.
- I chose the hugo-tranquilpeak-theme as this blog theme.
Hand Dirty on Hugo
- Create a blog
brew install hugo
mkdir {project}
cd {project}/themes
git clone https://github.com/kakawait/hugo-tranquilpeak-theme
cd ../
- Modify the theme setting
- After installing the Tranquilpeak theme successfully, you need to set the theme setting on
*.ymlor*.tomlfile under main directory. I recommend you to take a look at the exampleSite directory. You will find the defaultconfig.tomlfrom{project}/themes/hugo-tranquilpeak-theme/exampleSite/config.toml - If you’re not experienced in the world of web development, using the default
.tomlfile can be helpful, as I myself have used it.cp themes/hugo-tranquilpeak-theme/exampleSite/config.toml ./config.toml cp config.toml config.backup # backup the theme - Otherwise, U can go to modify it, referring to instructions from Github: hugo-tranquilpeak-theme
- After installing the Tranquilpeak theme successfully, you need to set the theme setting on
- Write a post
hugo new post/{post_name}.md- The
{post_name}.mdfile is located in the{project}/content/postfolder. I left the folder name as is, as it defaults to post. However, if you wish to change this, refer to{project}/themes/hugo-tranquilpeak-theme/CHANGELOG.mdand modify the main section(s) inconfig.toml - I altered the
{project}/archetypes/default.mdfile into the following, which would appear at the beginning of every new post.
- Be able to add the category and corresponding tags for each post
- The Summary and thumbnailImage of the post would be put at the Homepage/Indexpage at thumbnailImagePosition
- The
---
title: ""
date:
draft: true
categories: ['xxx']
tags: ['xxx', 'xx',]
thumbnailImagePosition: left
thumbnailImage: {image_path}
type: post
summary: xxxx
---
Publish it on Netlify
- Add
.gitsubmodulefor{project}/themes/hugo-tranquilpeak-theme, so that github allows you to keep this git repository as a subdirectory of the blog git repositorytouch .gitsubmodule# in .gitsubmodule [submodule "themes/hugo-classic"] path = themes/hugo-tranquilpeak-theme url = "https://github.com/kakawait/hugo-tranquilpeak-theme/" - Push it into Github
git init
git add . # {project}/theme should be added !
git commmit -m <message>
git branch -M main
git remote add origin <github link of this repo>
git push -u origin main
Create an account on netlify
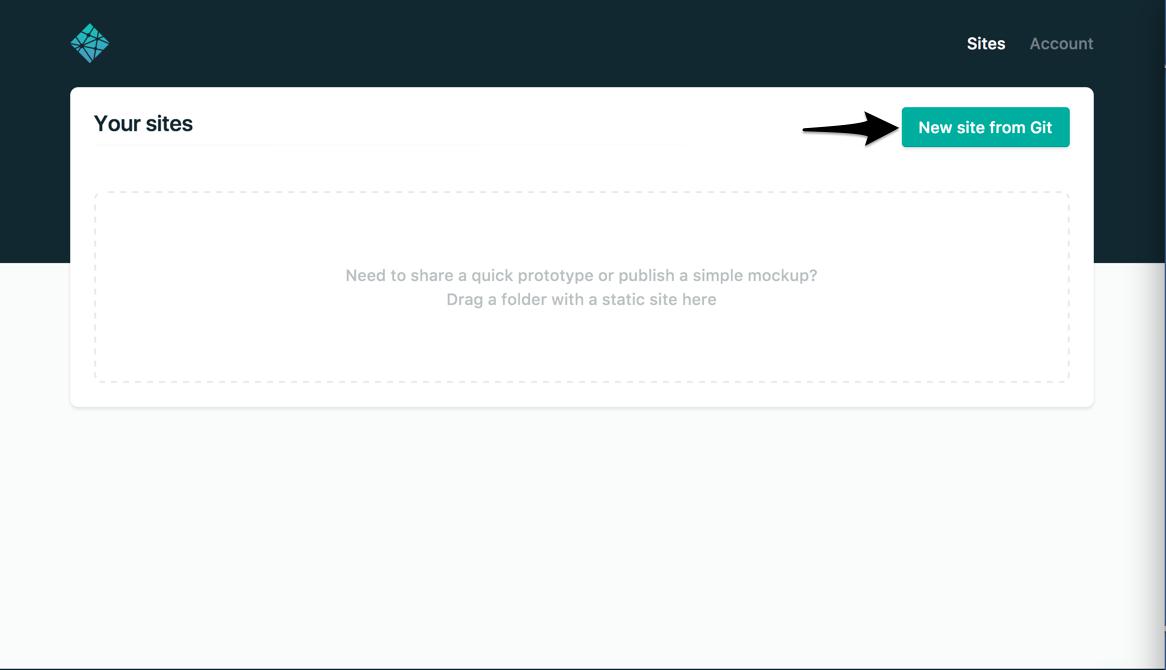
In new dashboard. Select “New site from git.”
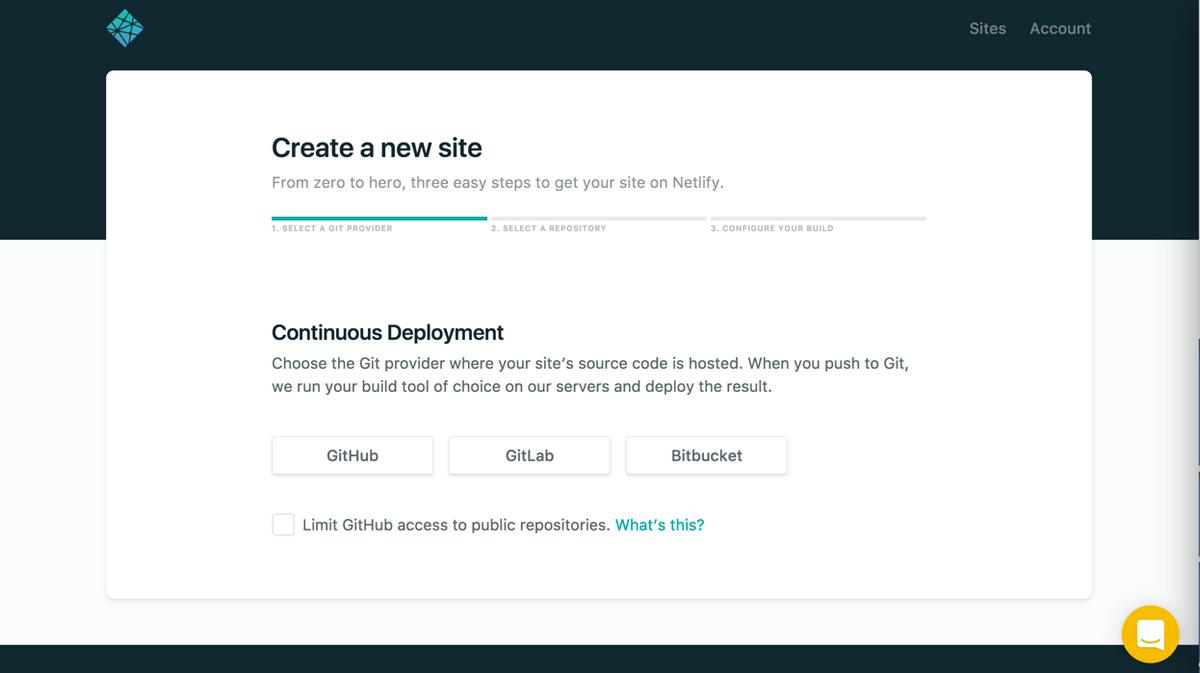
Netlify will then start walking you through the steps necessary for continuous deployment. First, select the git provider again, but this time give Netlify added permissions to your repositories
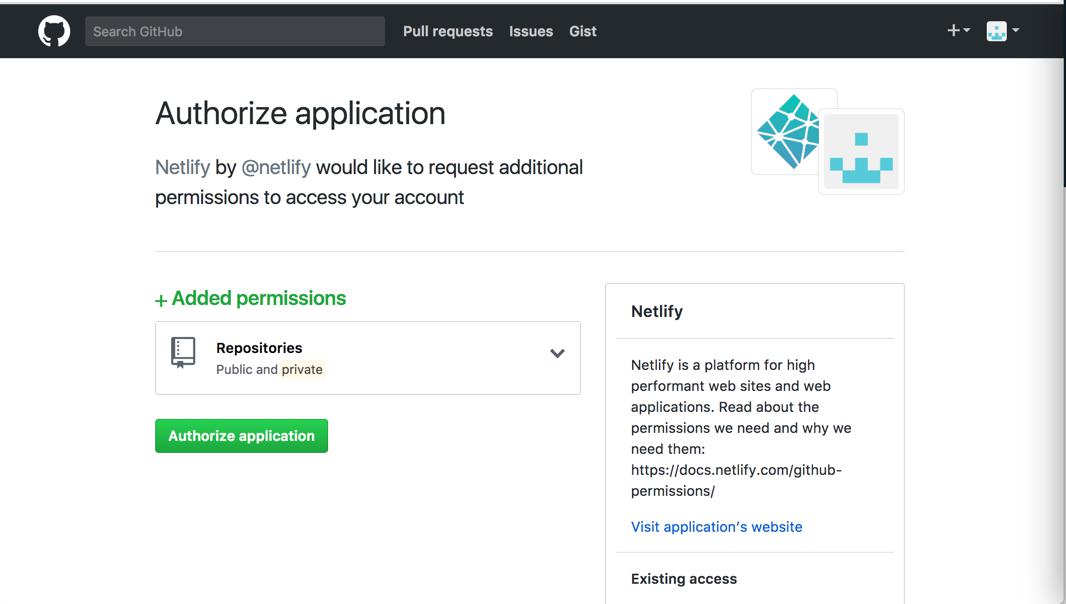
And then with the GitHub authorization modal
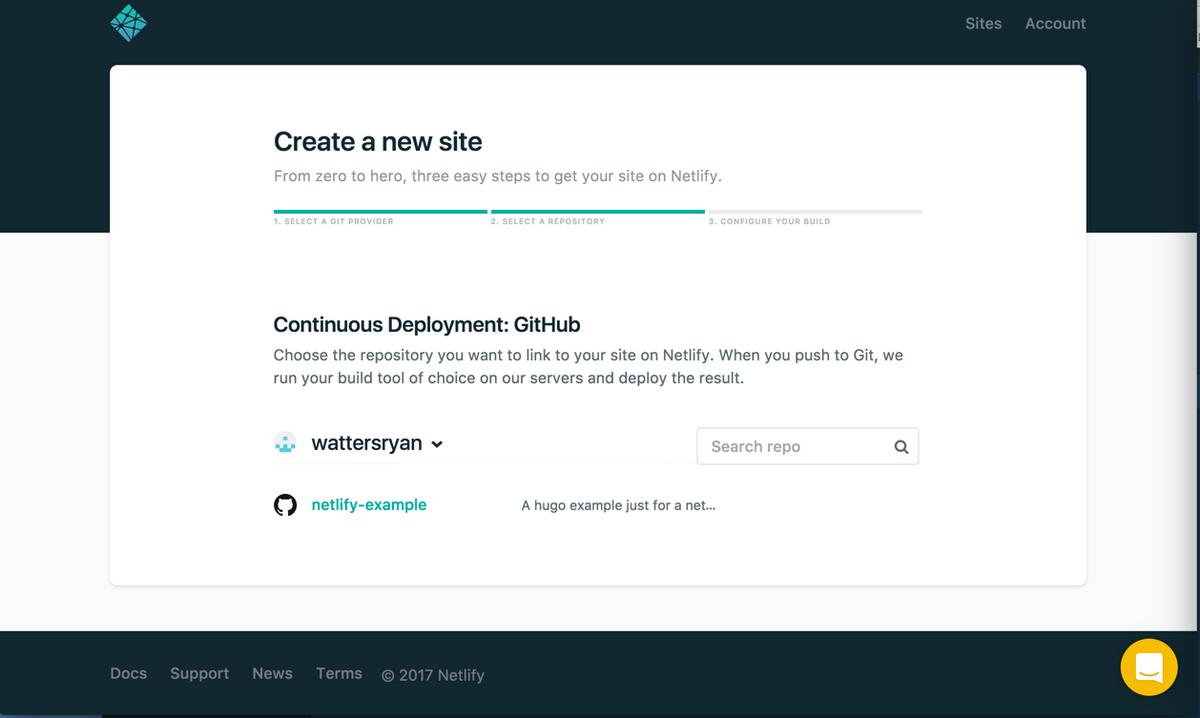
Select the repo you want to use for continuous deployment
- Add evironmental variables
- In the ‘Create a new site page’, select Show advanced. This provides access to Environment variables, where you can create the environment variable as you link your site.
- Key: HUGO_VERSION, Value: 0.80.0
- You can check the hugo version on then platform where creating the blog by
hugo version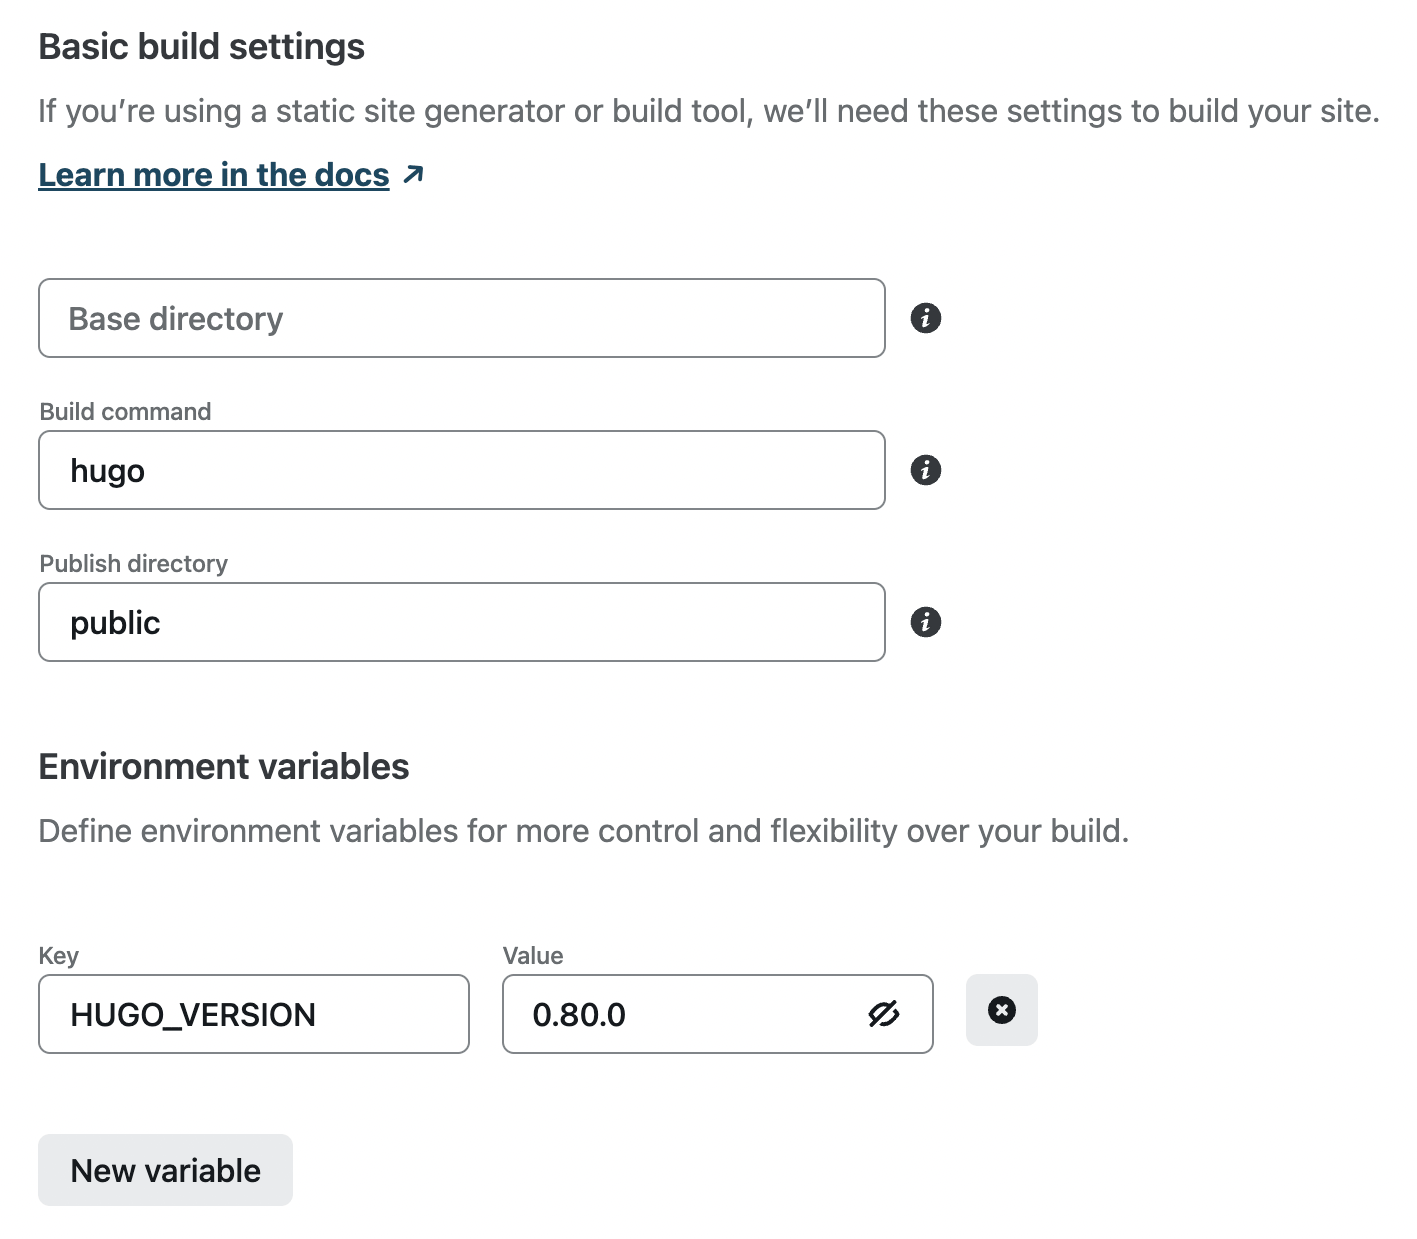
- Publish it
- In the Netlify console, selecting “Deploy site” will immediately take you to a terminal for your build
- Once the build is finished, you’ll see that the URL is automatically generated by Netlify on Site overview tab.

- Now every time you push changes to your hosted git repository, Netlify will rebuild and redeploy your site.